Node Setup
Mass Mesh is a high-tech social club building community-owned mesh networks throughout Boston. Participating in the mesh allows you to band together with your neighbors to form a "mini-ISP," and get a better deal on your Internet.
You can join the mesh by setting up a mesh node at your home. In these instructions, we will cover how to deploy a mesh node that is privacy-enabled by default, and allows you to share an Internet connection with your neighbors. The whole setup process takes about 2 hours from start to finish. The necessary hardware is listed below, and instructions for everything from flashing the firmware to placing the mesh point are covered.
Contents
Preparation
Considerations
- Time: about 2 hours
- Cost: about $150
- Internet Access: If you do not already have Internet access, you will need to find a neighbor (on your same street) who is willing to set up a mesh node at their home too, and work out a deal to share their Internet connection fairly.
- Difficulty: The instructions contained on this website are quite technical, and may be incomplete in some places. Most of these instructions were written with Linux users in mind. If you are using another operating system (like Windows or Mac,) some "googling" may be necessary to get through them. As stated above, it's good to have friends. Introduce yourself in any of our chat channels if you want some help getting started!
Materials
Standard Mesh Node
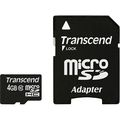
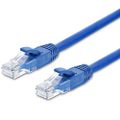
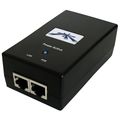
To set up a standard mesh node that broadcasts a secure Internet connection in all directions, you will need to obtain the following equipment:
Custom Mesh Nodes
If you know what kind of hardware you want, and this 'aint it, please see the recommended Hardware Bundles, or browse the full list of Devices.
Firmware Installation
If you prefer, bring your hardware to one of our weekly meetups, and we will be happy to flash it for you!
Raspberry Pi 4
Materials & Software
Install the Firmware
- Download the latest stable version of Mass Mesh's free firmware here
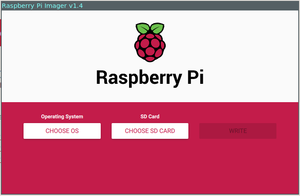
- Open the Raspberry Pi Imager (Download and install it from here if you haven't yet.)
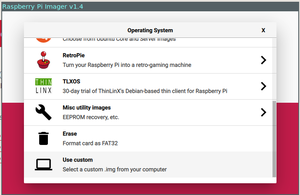
- Select "Choose OS"
- Scroll to the bottom of the list, and select "Use Custom"
- Find the Mass Mesh firmware you just downloaded, and select it from the filesystem.
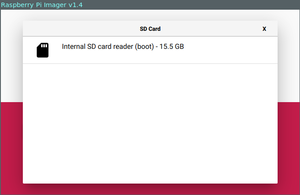
- Once you have selected the appropriate firmware, select "Choose SD Card"
- You should see something like the following. Go ahead and select that card. (You probably only see one, but use the size of the card as a hint if you see several.)
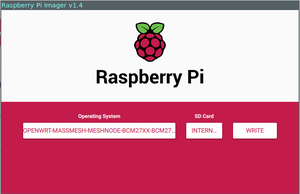
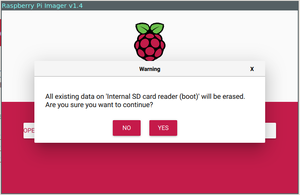
- Once you have selected the OS and the SD Card, select "Write." You will see a warning like the one shown below... Go ahead and select "Yes."
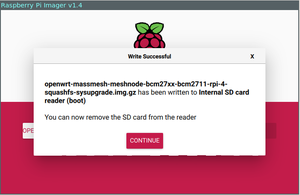
- You should see a screen like the following. Click "Continue," and remove the SD card from your computer.
- Plug the micro SD card into your Raspberry Pi 4.
Congratulations!!! You have successfully prepared your Raspberry Pi 4b to act as a secure mesh node. Set it aside for now while we prepare the other hardware. We will assemble it at the end in #Assemble the Mesh Node.
UAP AC Mesh
Materials
Assemble the Mesh Node
In addition to providing power to the node, you may also want to use the following ports on your device:
- The WAN port (on multi-port devices) may be connected to a spare LAN port on your regular router (or directly to your modem) to share your internet connection with the mesh
- The LAN port may be connected to a switch or any device to provide internet to that device through the mesh
Tips For Best Results
In order to communicate on the mesh, your node must be able to talk to other nodes in your area. Here are some suggestions to help maximize your signal:
- Weather resistant nodes should be mounted on the outside of the house or to a column facing the street
- Indoor nodes should be placed on or near windows facing the street and other buildings
- Nodes will work best if they have a direct line of sight to each other


