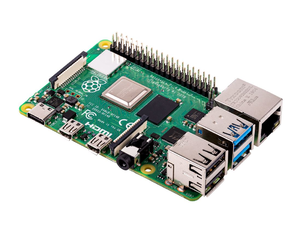
RPF Raspberry Pi 4 Model B
Files
Mass Mesh Firmware (Factory) (Latest snapshot)
Mass Mesh Firmware (Sysupgrade) (Latest snapshot)
Mass Mesh Snapshot Package Repository
Mass Mesh Firmware Snapshot Image Repository
Materials & Software
Tip: Download and install the appropriate version of the Raspberry Pi Imager for your computer before continuing.
Flashing the Firmware
- Download the latest stable version of Mass Mesh's free firmware here
- Following along with an Espresso Bin v5? Download your firmware from here instead!
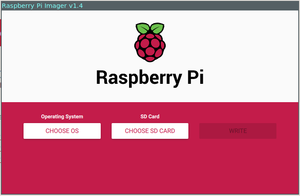
- Open the Raspberry Pi Imager (Download and install it from here if you haven't yet.)
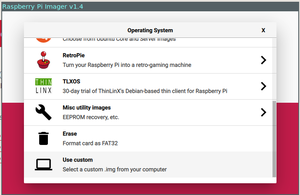
- Select "Choose OS"
- Scroll to the bottom of the list, and select "Use Custom"
- Find the Mass Mesh firmware you just downloaded, and select it from the filesystem.
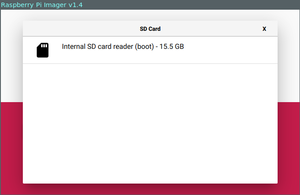
- Once you have selected the appropriate firmware, select "Choose SD Card"
- You should see something like the following. Go ahead and select that card. (You probably only see one, but use the size of the card as a hint if you see several.)
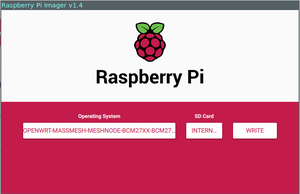
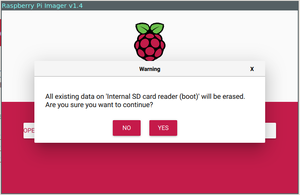
- Once you have selected the OS and the SD Card, select "Write." You will see a warning like the one shown below... Go ahead and select "Yes."
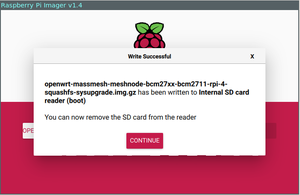
- You should see a screen like the following. Click "Continue," and remove the SD card from your computer.
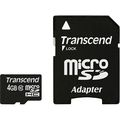
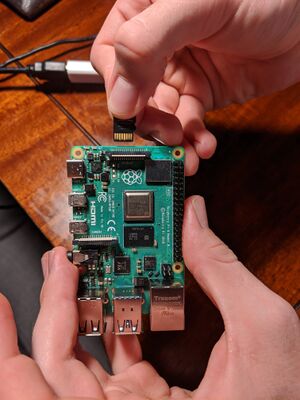
- Plug the micro SD card into your Raspberry Pi 4.
Congratulations!!! You have successfully prepared your Raspberry Pi 4b to act as a secure mesh node. See the Node Setup guide for more info about building a wireless mesh node.
